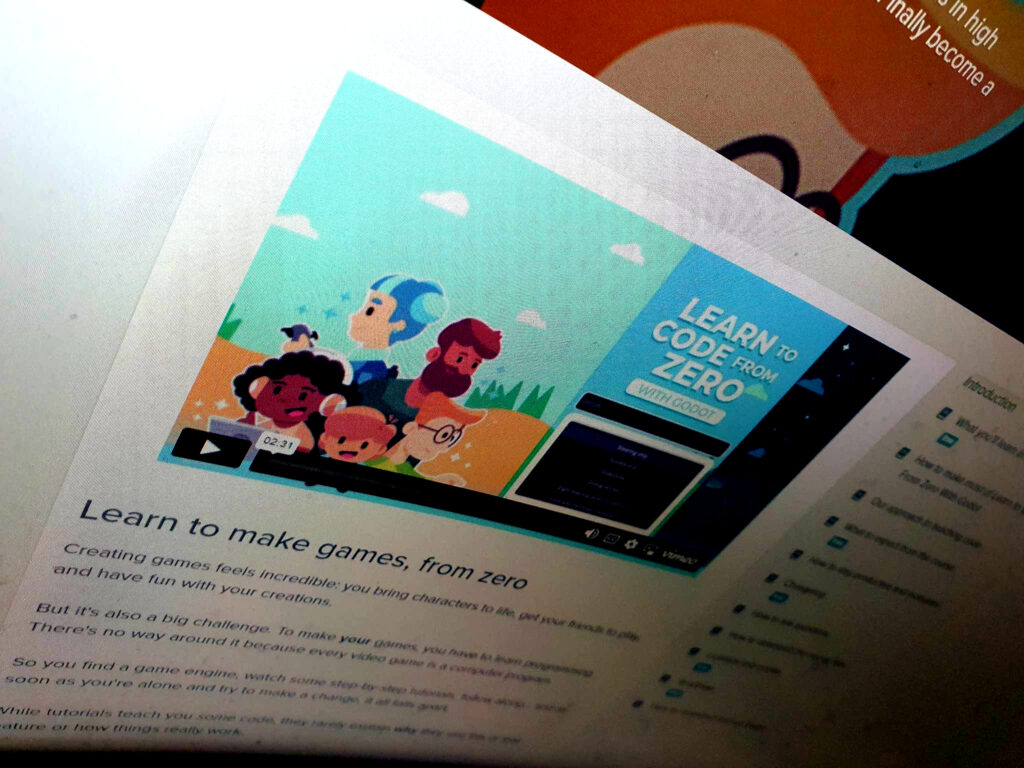
This post will serve as documentation of what I learn in the course Learn to Code From Zero With Godot. Rather than spreading this documentation over several posts, which might end up messy and hard to track, I will keep updating this post as I move along. Projects created as part of the course will get their own posts.
add_child()
You can use add_child(node_to_add) to add a node as a child to the node running the script. Alternatively, you can specify the path to the node that you want to add the child to:$ChildNode/ChildOfChild.add_child(node_to_add)
AnimationPlayer
Node used to create animations.
Argument
An argument is a variable that is sent to a function.
Button
A node that presents the user with a clickable button. It’s common to connect the pressed() signal of a button to a function in a script.
.connect()
Instead of connecting a signal using the UI, the connection can be done by code:button.connect("pressed", self, "_on_Button_pressed")
Here, the “button” is the node sending the signal, “pressed” is the name of the signal, “self” is pointing to the node running the script, and “_on_Button_pressed” is the function within that node. To point to a script in another node, simply replace “self” with the node in question.
Control
The base node for user interface creation. Each Control node is a resizable box that anchors and resizes relative to a parent box, the largest being the game window.
Dictionary
A dictionary in Godot is a way to store data in key value pairs. A dictionary is declared like this:var my_dict = {
"Key" : value,
"Another_key" : another_value
}
Accessing the data in a dictionary is done like this:var data_of_key = my_dict["Key"]
orvar data_of_key = my_dict.Key
Adding data to an existing dictionary can be done like this:my_dict["New_key"] = new_value
DynamicFont
This resource uses a font file to draw the text and a couple of settings to change the text size, the line size, etc.
extends
When a script is added to a node, it should have the line “extends nodetype” (extends Sprite, for example) at the beginning. This makes sure that you can access node specific functions within the script.
Functions
Functions are used to execute code and can also be used to return a value. Functions are best used in cases where we know we need to use the same code in several places, or in cases we want to break our code down into logical parts.
Functions have the form:func function_name(argument: argument_variable_type) -> return_variable_type:
Functions that do not have a return value should have their return_variable_type set to void.
hide()
Using hide() will hide the node that hide() is run from/on.
Inferred variables
A good practice when declaring a variable is to infer the variable.
Instead of writing:var myAge = 12
We write:var myAge := 12
In the second version (with the :=) we not only declare a variable, but we infer its variable type (int in this case). Inferring a variable makes sure that the variable type can’t be changed, which is a good way to avoid potential errors.
We can do this either by letting whatever value we assign to the variable handle the type (as in the example above), or by explicitly state the variable type in the cases we do not want to assign a value right away:var myAge: int
Input
The Input object gives you access to all the functions related to user input in Godot. For example, we use it to get the input direction of the player with the get_axis() function.
Many functions of the Input object expect input actions. Input actions are names to which you map keys, mouse buttons, or gamepad buttons.
Input mappings
Input mappings (reached via Project>Project Settings>Input Map) are defined to map keyboard, mouse or control buttons and control stick movements to variables that we can use in code with the Input object.
KinematicBody2d
Node used to handle 2D collisions for a scene. Needs a CollisionShape2D node attached to it for it to work.
Label
Allows you to draw an unformatted line or paragraph of text.
LineEdit
A node that makes it possible for the user to enter text.
MarginContainer
Enforces a fixed margin on its children.
.new()
New nodes can be created by writing the node type followed by .new()
Example:var my_sprite := Sprite.new()
onready
You can use onready as a short hand way to assign child nodes to variables in a script, like this:onready var child_node := $ChildNode
PanelContainer
Stretches its children to fit the panel.
preload()
If we have a node that is not present at the start of the program, we can preload it with preload() like this:var my_node := preload("MyNode.tscn").instance()
This assigns an instance of the node to the variable my_node, but will not add it to the running program. To add it, we can use add_child(my_node).
_process()
The the _process(delta) function works as a “step” function within the game, and it’s generally here that we put code that controls movement and changes over time. The delta argument is used to make sure that whatever we do is time rather than frame rate dependent. We do this by multiplying the variable we want to change with delta.
ProgressBar
A UI node that draws a horizontal or vertical bar showing progress.
_ready()
The _ready() function can be used to run code when we need to know that that all child nodes are ready.
show()
Using show from/on a node will show it (if it was hidden with hide()).
Signals
Signals allow nodes to communicate and react to one another. They are messages that nodes emit when something occurs to them. For example, a Timer emits the “timeout” signal when it times out. Signals can be connected either within the UI, or with code.
Sprite
A node that is used to display 2D graphics to the screen. The sprite node needs a texture attached to it.
TextureRect
An UI node that shows a picture. Needs to be provided a texture.
Theme
A resource that describes how UI elements should look.
VBoxContainer
Arranges its children in a column.